

When it comes to durable and reliable exterior wall surfaces, Hardie Backer Board is a great choice. This material is a type of cement board that is specifically designed for use in areas where water damage and moisture are common concerns.
When properly installed, the Hardie Backer Board can provide a long-lasting, attractive wall surface.
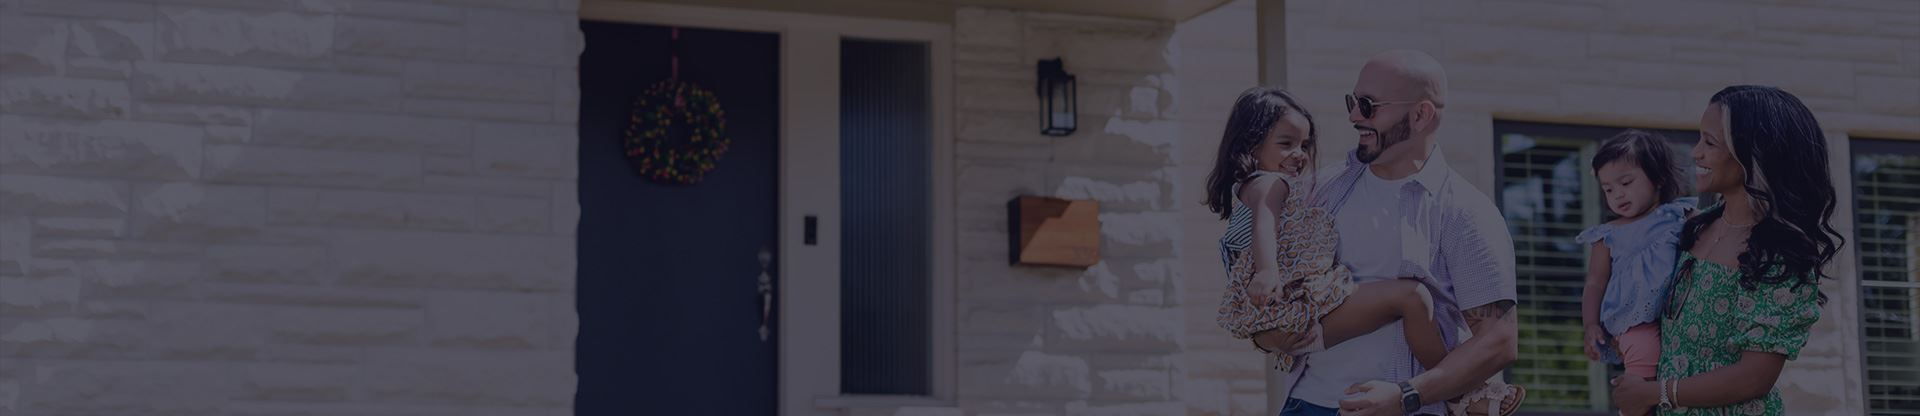
Southwest Exteriors offers high-quality full siding replacements using James Hardie fiber cement products. Since 1989, we've helped thousands of homeowners transform their exteriors with something highly durable.
So, if you're thinking about elevating your home with James Hardie products, you want to understand their features and benefits.
This article will outline what the Hardie Backer Board is, how to prepare for its installation, and how to install and maintain it once it's in place.
Understanding Hardie Backer Board
Whether you're renovating your home or building a new one, you may be wondering what type of wall surface material is best for areas where moisture is a concern. One popular option is the Hardie Backer Board.
This type of cement board is specifically designed for use in areas like bathrooms, kitchens, and laundry rooms, where water damage and moisture are common concerns.
What is Hardie Backer Board?
Hardie Backer Board is made from a combination of Portland cement, ground sand, and cellulose fibers. These components make it a highly durable and water-resistant material that is ideal for use in areas where moisture is a concern.
It comes in a variety of thicknesses, ranging from 1/4 inch to 1 inch, so you can choose the right thickness for your needs.
Hardie Backer Board is also very easy to work with. It can be cut to size using a utility knife or a circular saw, and it can be installed using screws or nails. Additionally, it can be tiled over or painted, so you can customize the look of your wall surface to fit your design preferences.
Benefits of Using Hardie Backer Board
There are many benefits to using Hardie Backer Board for your wall surfaces.
First, it is highly resistant to water damage and moisture, which makes it an ideal choice for areas where moisture is high. This means you won't have to worry about mold growth or other water-related issues that can damage your walls and compromise your indoor air quality.
Additionally, the Hardie Backer Board is very durable and long-lasting. Unlike other wall surface materials that may need to be replaced every few years, Hardie Backer Board can last for decades with proper care and maintenance.
This means you can enjoy a beautiful and functional wall surface without having to worry about frequent repairs or replacements.
Finally, the Hardie Backer Board is very easy to install. Additionally, you can save money on installation costs by doing it yourself. With a few basic tools and some DIY know-how, you can install the Hardie Backer Board quickly and easily without the need for professional help.
Download this FREE guide to James Hardie siding!
Comparing Hardie Backer Board to Other Wall Surface Materials
There are many different wall surface materials available on the market, and it can be difficult to know which one is right for your needs. When compared to other common wall surface materials like drywall, Hardie Backer Board is a much better choice for areas where moisture is a concern.
Drywall is highly susceptible to water damage and mold growth, which makes it a poor choice for use in areas like bathrooms and kitchens. Even a small amount of moisture can cause drywall to warp, crack, or become discolored.
Additionally, mold can grow quickly on drywall, which can cause health problems for you and your family.
Hardie Backer Board, on the other hand, is resistant to both of these issues. It can withstand exposure to moisture without warping or cracking, and it does not provide a suitable environment for mold growth.
This means you can enjoy a long-lasting and attractive wall surface without having to worry about water damage or mold growth.
Overall, Hardie Backer Board is an excellent choice for anyone who wants a durable, water-resistant, and easy-to-install wall surface material.
Whether you're renovating your bathroom, kitchen, or laundry room, Hardie Backer Board can provide the protection and functionality you need while also enhancing the overall look and feel of your space.
Preparing for Hardie Backer Board Installation
Installing the Hardie Backer Board is a crucial step in any tiling project. It provides a stable and secure base for your tiles to adhere to, ensuring that your finished project looks beautiful and lasts for years to come. To ensure a successful installation, follow these steps:
Necessary Tools and Materials
Before you begin the installation process, it's important to gather all the necessary tools and materials.
In addition to the tools and materials mentioned above, you may also want to have a dust mask, a shop vac, and a broom on hand to clean up any dust or debris created during the installation process.
You'll also need to make sure you have enough Hardie Backer Board to cover your entire wall space before starting your project.
Measuring and Cutting Hardie Backer Board
Once you have all your tools and materials ready, it's time to measure and cut your Hardie Backer Board. Measure the dimensions of your wall space carefully, making sure to account for any obstacles, such as electrical outlets or switches.
Use your circular saw or jigsaw to cut the Hardie Backer Board to size, being careful to make straight and accurate cuts.
If you need to make any curved cuts, use your jigsaw and take your time to ensure a smooth and accurate cut.
Preparing the Wall Surface
Before you begin installing your Hardie Backer Board, it's important to prepare the wall surface properly. Start by cleaning the wall thoroughly, and removing any dirt, dust, or debris. Use a shop vac or broom to sweep up any remaining debris.
Next, use a leveler to check the wall for any bumps or uneven spots. If you find any, use a scraper or sandpaper to even them out. Once the wall surface is clean and even, you're ready to move on to the next step.
Installing Hardie Backer Board
Now it's time to install your Hardie Backer Board. Start by applying a layer of thin-set mortar to the wall surface using a notched trowel. Press the Hardie Backer Board firmly into place, making sure it's level and flush with the surrounding walls.
Use your power drill and Hardie Backer Board screws to secure the board to the wall, spacing the screws about 8 inches apart. Be sure to use backer board tape to cover any seams between the boards, ensuring a smooth and even surface for your tiles.
By following these steps and taking the time to properly prepare your wall surface and measure and cut your Hardie Backer Board, you'll be well on your way to a successful tiling project.
Remember to always wear your safety glasses and ear protection when using power tools, and take your time to ensure accurate and precise cuts. With a little patience and attention to detail, your finished project will be beautiful and long-lasting.
Installing Hardie Backer Board
Attaching Hardie Backer Board to Wall Studs
Once you have your Hardie Backer Board cut to size and your wall surface prepared, it's time to begin the installation process. Start by attaching the Hardie Backer Board to your wall studs using Hardie Backer Board screws.
Be sure to place the screws at least ¾ inch away from the edges of the board to avoid any cracking. Repeat this process for each board until the entire wall is covered.
Applying Mortar and Seams
After the Hardie Backer Board is secured in place, it's time to apply the mortar and seams. Apply a layer of thin-set mortar to the Hardie Backer Board using a trowel. Spread the mortar evenly to ensure proper adhesion.
Once the mortar is in place, use backer board tape to cover the seams between each board. Apply a second layer of mortar over the tape for added strength and durability.
Ensuring Proper Alignment and Spacing
Proper alignment and spacing are crucial when installing a Hardie Backer Board. Be sure to use spacers to create even spacing between each board. Additionally, check your alignment periodically using a leveler to ensure that each board is straight and level as you go along.
Finishing and Maintaining Hardie Backer Board Walls
Applying Surface Finishes
Once your Hardie Backer Board is installed, it's time to apply your surface finishes. This can include things like paint or tile.
When applying tile, be sure to use a waterproof adhesive to ensure proper adhesion and protect against water damage. Additionally, ensure you seal your tile periodically to maintain its water resistance and prevent grout discoloration.
Cleaning and Maintenance Tips
To maintain your Hardie Backer Board walls, clean them regularly using mild detergent and hot water. Avoid using abrasive cleaners or tools that can scratch or damage the surface.
Additionally, be sure to inspect your walls periodically for signs of damage or wear and tear. If you notice any issues, be sure to address them promptly to prevent further damage.
Repairing Damaged Hardie Backer Board
If you do notice any damage to your Hardie Backer Board walls, it's important to address it promptly. Repairing the damaged Hardie Backer Board involves removing the damaged board, cutting a replacement board to size, and attaching it to the wall using screws.
Follow the same steps outlined in the installation process to ensure proper adhesion and durability.
Using Hardie Backer Board For A Long-Lasting Result
Hardie Backer Board is the ideal choice for those seeking a durable and moisture-resistant wall surface. With its composition of cement, sand, and cellulose fibers, it offers exceptional durability and protection against water damage.
Whether you're renovating your bathroom, kitchen, or laundry room, Hardie Backer Board provides a stable base for tile installation, ensuring a beautiful and long-lasting result.
By following the proper installation and maintenance steps outlined in this article, you can enjoy the benefits of the Hardie Backer Board for years to come.
To get started on your project, schedule your commitment-free consultation with Southwest Exteriors today and get the look you love coming home to!