Having your home’s windows replaced can be unnerving if you don’t know what to expect. Many of our clients have asked us questions like “How long will it take?” “Will my walls or floors be damaged?” and “How do you get my old windows out of the wall?” Let's break down installing replacement windows into three simple steps.
Step 1 – Removing the old window
Obviously, the old window must be taken out first, and this part of the process often worries homeowners the most. They are legitimately concerned that their walls will be damaged with the removal, and they also don’t want a lot of debris ruining their floors. We always enjoy reassuring our clients that our installation crews can and will keep their property in great shape. Here’s how they do it.After spreading protective coverings on the floors, the crew members pop the old glass in one piece out of the window frame and set it aside.
[gallery columns="2" ids="3811,3817,3815,3819"]
Now, depending on the material of the window, the rest of the removal will vary slightly.
[gallery ids="3825,3827,3829"]
- With aluminum or vinyl windows, the frame is collapsed inward to be removed, as pictured above.
- With wood windows where the interior trim is still in good condition, the wood stops that hold the window sashes in place are taken so that only the sashes are removed without disturbing the interior trim.
- With wood windows where the interior trim is in poor condition, both the window sashes and the interior trim must be removed.
Step 2 – Installing Replacement Windows
 Inserting window frame screws
The installation crew can now easily slide the new frame straight into the hole and then secure it into the wall with screws that blend perfectly into the inside of the frame. It is important to note that having a replacement window that perfectly fits the hole it is filling is critical for ensuring that the product will function at maximum capacity. If there are gaps between the window and the wall, there will be a lot of heat and cold transfer occurring, and the frame itself will eventually become warped and malfunction. The best solution is to purchase a window that’s been custom-built to fit the hole exactly.
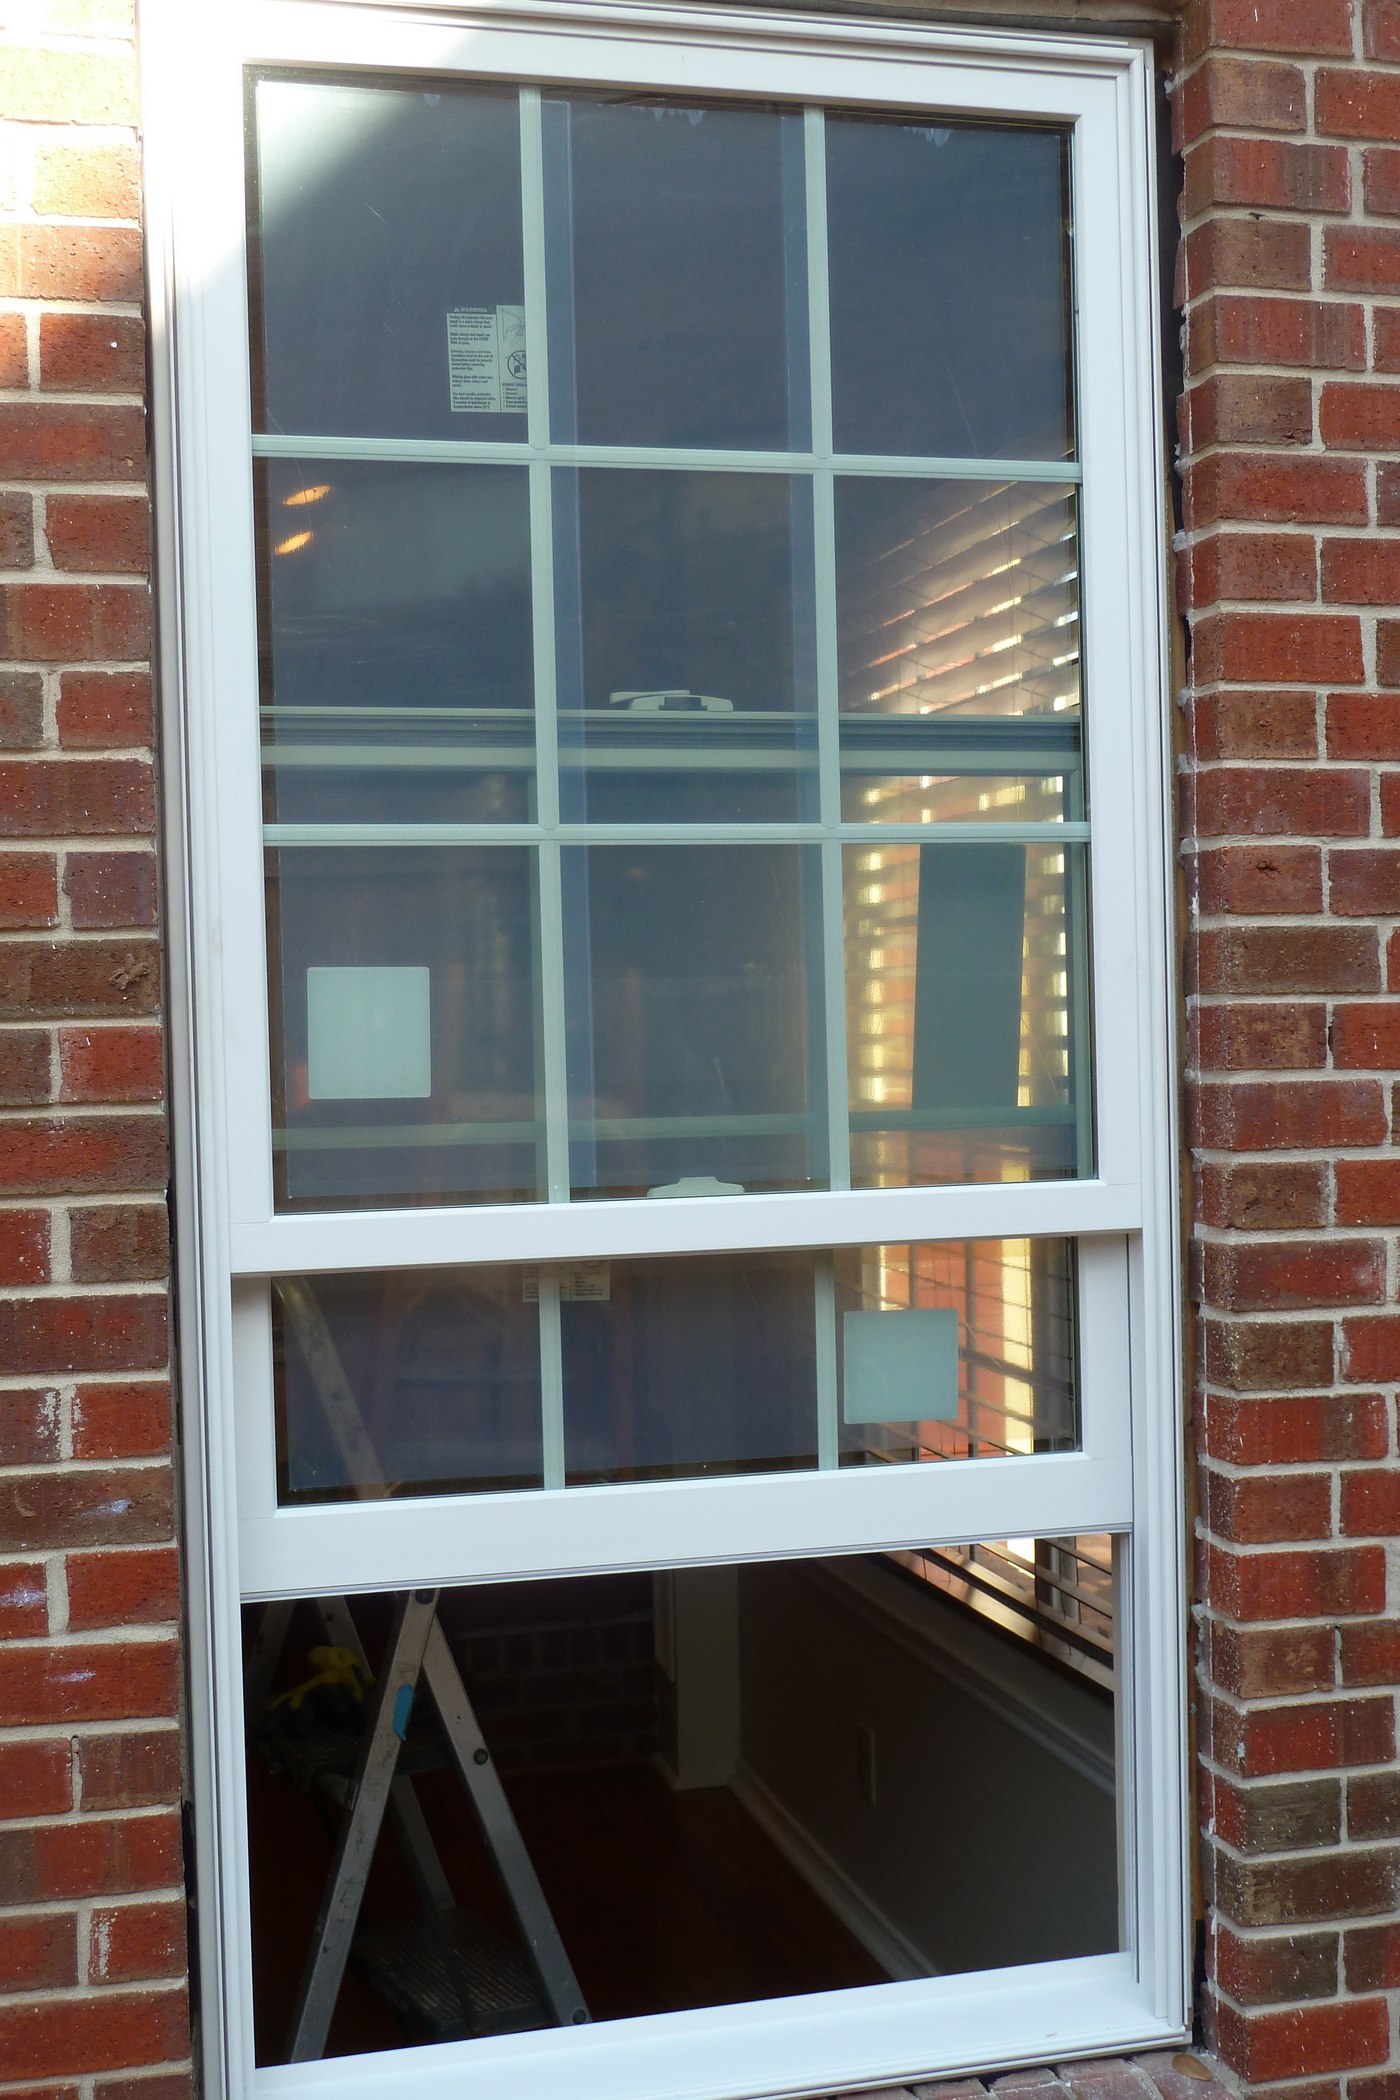 New window frame and sashes
Once the frame is securely in place, the window sashes (the actual panels with the glass panes in them) can be put into their tracks.
Step 3 – Trimming the new window frame
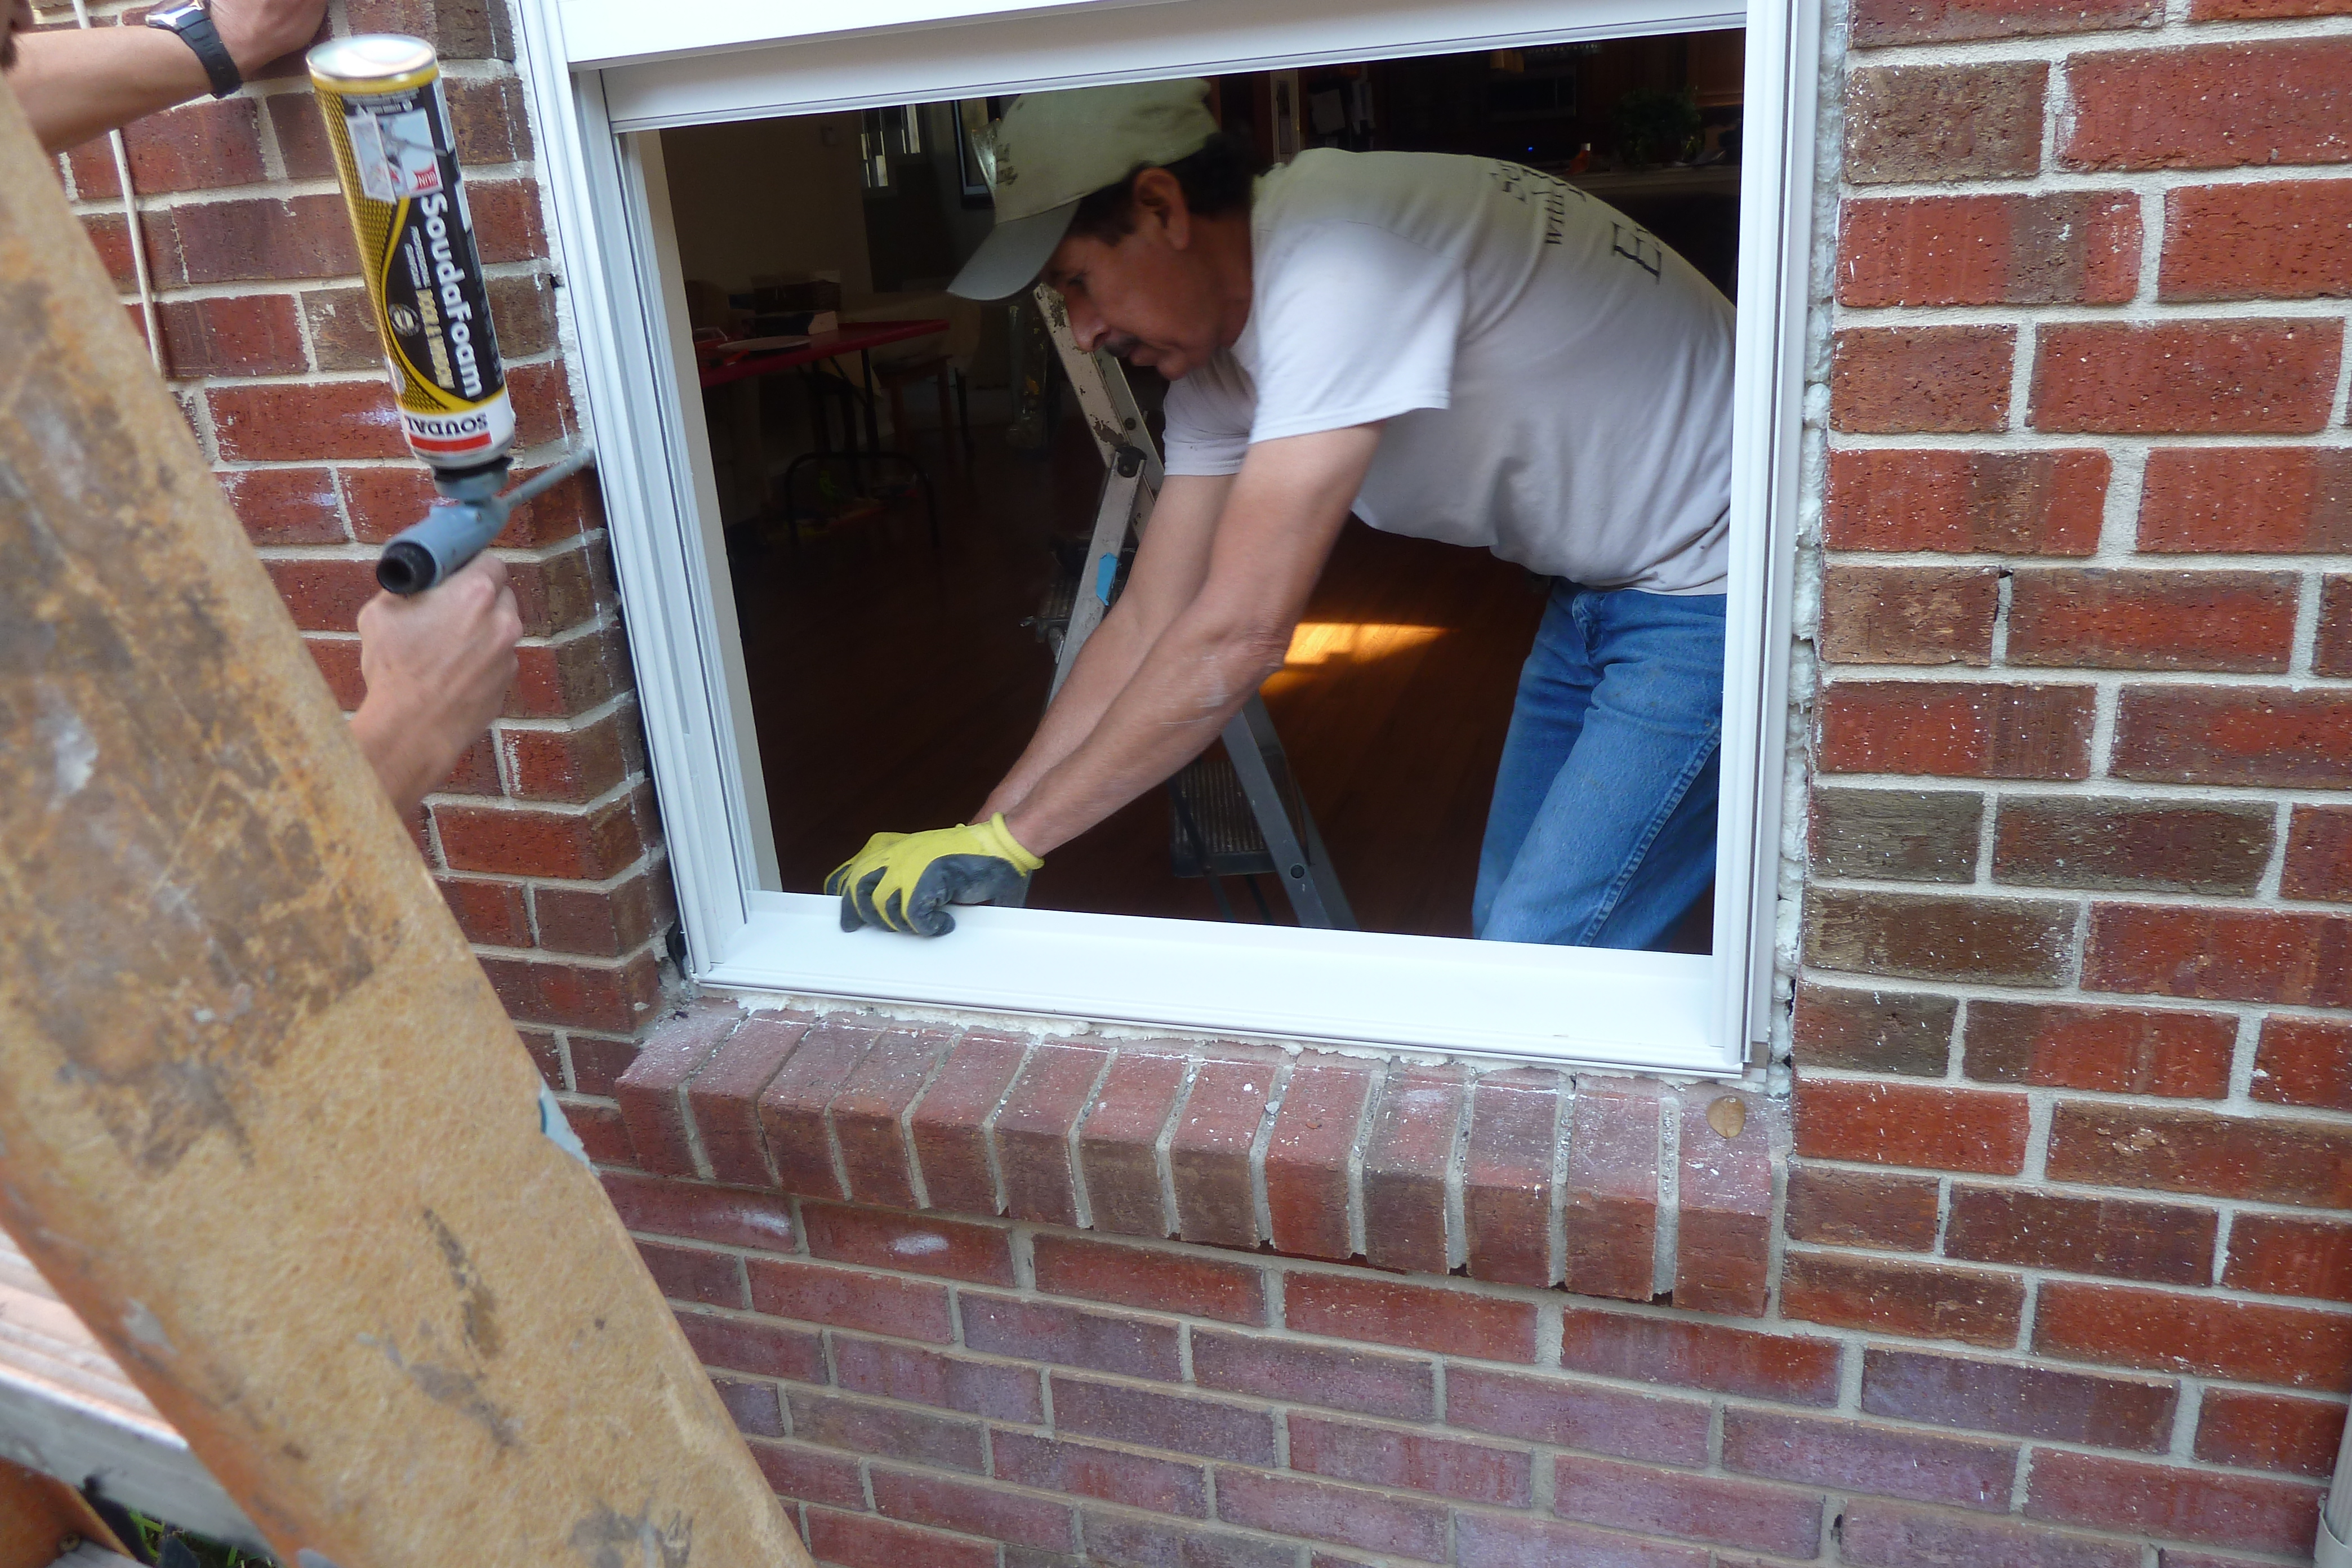
The final step of installing replacement windows is caulking and trimming the edges of the window frame. It finishes off a smooth transition between window frame and wall, and it completes the barrier between the indoors and outdoors.[gallery columns="2" ids="3843,3845"]
This step is very important to get the best possible seal between the window and the wall so that heat, cold, and the other elements won’t transfer. With these pieces in place, the installation process is complete.
[gallery columns="2" ids="3847,3849"]
After cleaning the window panes, the crew will sweep and vacuum up any debris and then remove the floor covering so that everything is back to the way it was before. The homeowners are left with beautiful new windows that they can enjoy for years to come.
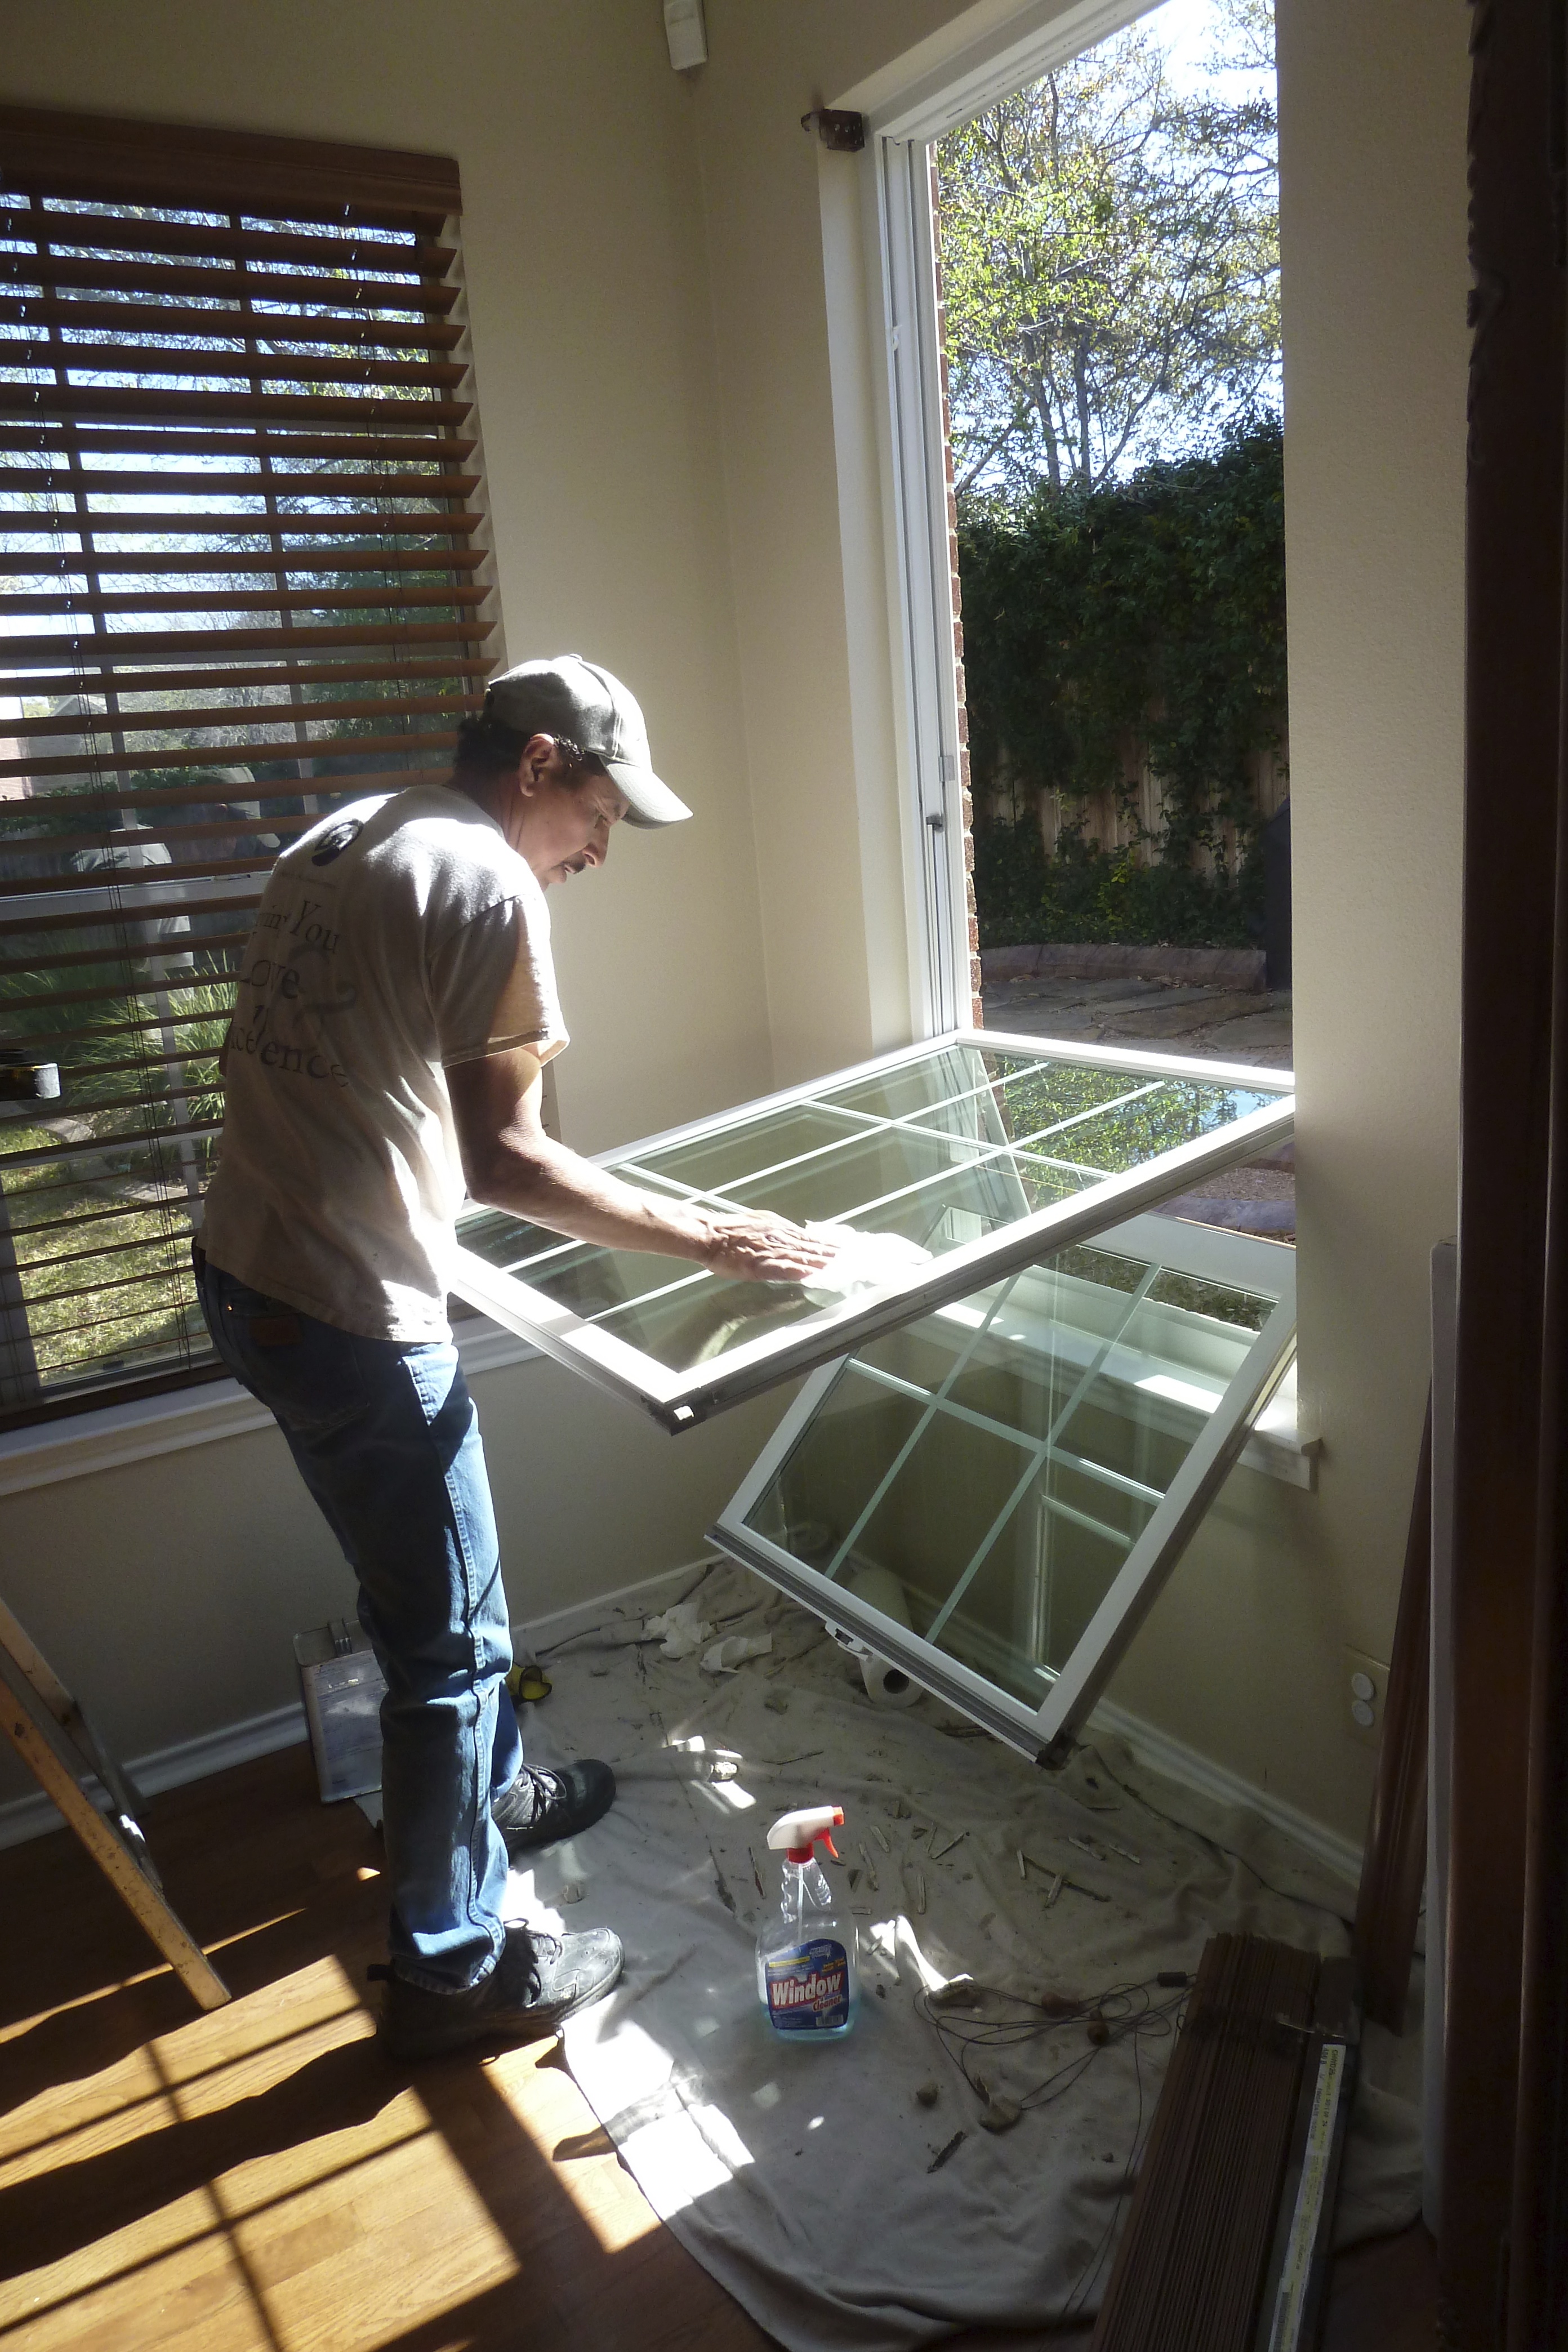 Cleaning the window panes
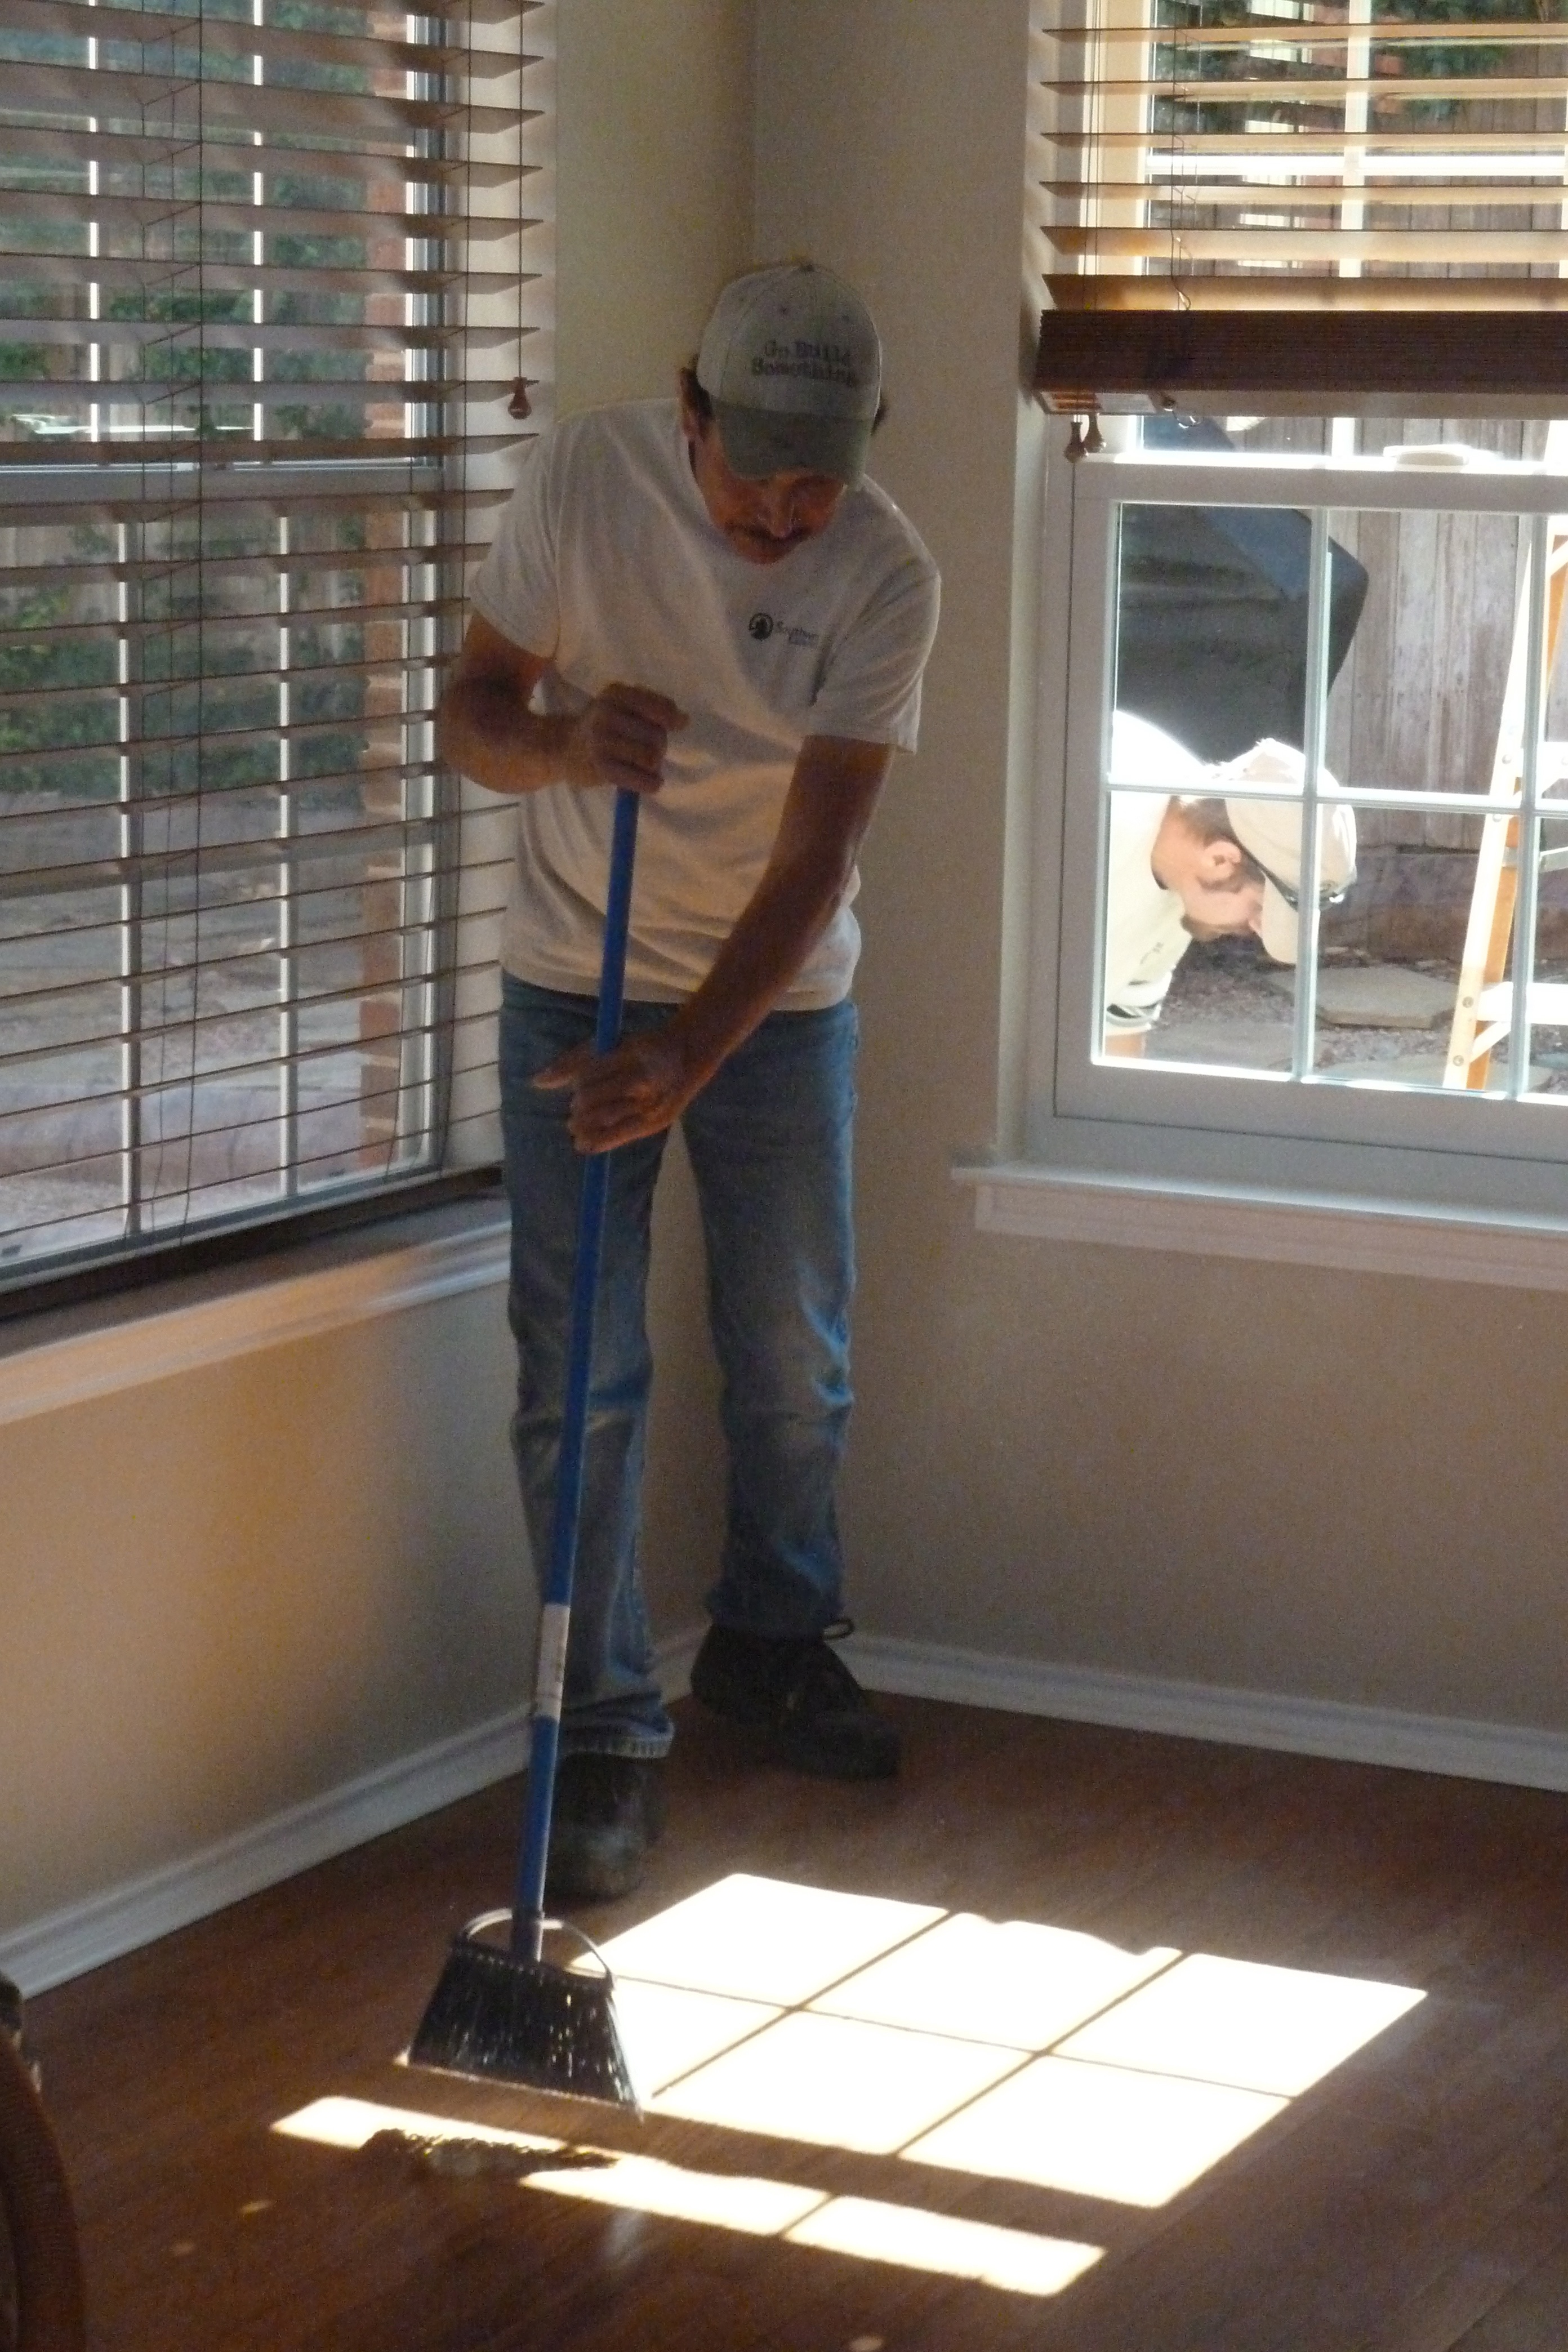 Cleaning up debris
Depending on the size and number of windows, an experienced installation crew can usually replace about 8 to 10 windows in one day. Their goal is to make sure that the process from start to finish is as painless as possible for the homeowners, and that they can begin enjoying their new windows with all of the benefits as soon as possible. With Southwest Exteriors, installing replacement windows has never been easier.
Any more questions about the process of replacing windows? You can watch this video to see how a window is removed from the wall before the new window replaces it, or feel free to contact us directly.